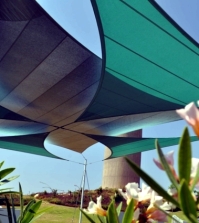
- Creating a rock garden – the versatile application of rock
- House of Paul and Shoko Shozi
- boxes of fruit for cookbooks
- White Wardrobe
- Modern flat in Camden with a minimalist interior
- Kitchen design – the mysterious charm of the dark colors
- Bathroom in cottage style
- Refer cork with fabric
- Hot autumn decoration for the input-fall match welcome
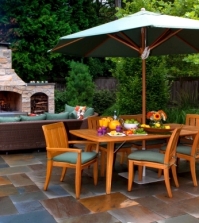
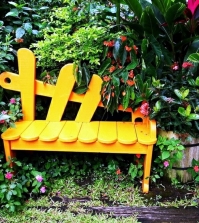
- Seating area by the pool
Wall to make yourself – simple instructions for the preparation

This fabulous idea to wall itself is fairly easy to implement and has a practical and decorative value. Follow. Follow the simple and tinker yourself a collection of frames where you can attach your business cards and other important notes instructions
Wall Supplies - Hardware Requirements

For the realization of the whiteboard to make your own you will need the following documents: frame with hardware fibreboard 5 cm wider than the hard, elastic color, different buttons with holes, knitting yarn and needles stapler needle and two times as large as the hard drive floss.
Wall to make your own - Step

The first step for the preparation of the wall itself is to cut the yarn. Cut two pieces that are the same size as the hard drive. Then cut the fabric to be exactly 5 cm wider than the hard disk.
Step

To make the wall to make your own, you must attach the fabric using the stapler on the hard disk. Tacking the fabric on the rear side of the plate and shake as good as can so that no wrinkles.
The third step

Then it's time for the rubber bands. You can select the bands in all sorts of colors, depending on the model and color of the material. As the basis for the first two bands stretch the mutual angles of the plate such that they cross.
Step Four

The next step in preparing the wall for yourself is to secure the straps. Use the needle and attach volumes 10 cm apart. It will establish a diamond-shaped pattern.
Step Five

After covering the elastic straps secure it to the edge of the hard drive with a stapler, so that the structure is very stable.
Sixth step


The wall also serves to make your own decorations. Therefore, it is important to decorate it with some decorative elements. Use the buttons in different sizes and color. Sewn together at points of intersection of the elastic bands.
Step Seven

The final step in the preparation of the wall itself is willing to put in the frame construction and ... voila! You can then insert your cards and notes between the elastic bands. Check out other creative ideas in our image gallery wall.


